Schrodinger's Website (Part 1)
Why, you might ask, would anyone in their right mind try and bundle a content management system inside a Lambda function? Well, cost efficiency is the goal here.
My key requirements for this project:
- Host a website on my domain name (jordwalsh.com)
- Retain the ability to access server side code
- Make the content editable via a content management system (e.g. to publish new posts)
- Make the infrastructure low maintenance (or no maintenance at all)
- No (extremely low) cost to host the overall solution
Some of the options available:
Wordpress
Naturally, if you're wanting to build a blog the first place you start is with Wordpress. At $7 a month for a cloud version this was definitely at the low cost end, but not at the no cost end. So I had to keep looking.
Medium.com
Medium has been growing in popularity for years, it's a great experience for creators and consumers alike, but the limitations on styling and control for the developer were a concern, and at $5 a month it was above my 'no cost' benchmark.
Netlify
While Netlify seems like a good option, the server side is completely removed from you forcing all content to be driven from static site generators. As a developer I like to retain access to the full stack to be able to customise how I want the site to be. Also, the pricing (whilst free) has so many caveats and limitations that it makes me unsure of how this is actually going to work.
AWS Lambda (serverless)
I discovered in my journey that you can actually host a web server (Express.js) inside a lambda function. This means you get access to the full capabilities of Express and only run the code when a consumer asks for it. Lambda is free for the first 1 million calls and $0.50c for each subsequent million, so firmly in the no/low cost bracket.
So with this in mind, I was determined to see how I could get this working in a Lambda.
My guide
In this guide I'll show you the process I went through to stand up this serverless website, install a content management system, and deploy it to AWS - all for only the price of the domain name.
What tools are we using?
This is a very hands on tutorial, and you will need some knowledge of node.js in order to get it all working.
In this tutorial you will need access to the following:
- Amazon AWS (API Gateway / Lambda)
- GitLab (Code Storage and CI/CD)
- Netlify
- Node.js / NPM
You can sign up for all of these completely free. Once you have your accounts you can move on to the next step.
Installing Node.js and NPM in your environment
To install Node.js on Mac follow this guide. On Windows go here. For other operating systems, you’re on your own.
From here on out this guide assumes you’ve got node and npm running and updated to the latest version.
Creating your Application
Open up your favourite terminal, make a new directory for your application and cd into it:
$ mkdir sample-website
$ cd sample-website
Now you can use the npm init script to create your project.
$ npm init --yes
Wrote to /Users/jordan/Projects/sample-website/package.json:

{
  "name": "sample-website",
  "version": "1.0.0",
  "description": "",
  "main": "index.js",
  "scripts": {
    "test": "echo \"Error: no test specified\" && exit 1"
  },
  "keywords": [],
  "author": "",
  "license": "ISC"
}
Creating a simple web application
We’re going to use Express.js as the basis for our web application in this example.
To install Express.js as a dependency to your project run the following command:
$ npm install express --save
In your favorite text editor, create a file called index.js as the entry point for this application.
//index.js
const express = require('express');
let app = express();

// respond with "hello world" on the homepage
app.get('/', (req, res) => {
   res.send('hello world');
});

app.listen(3000, () => {
   console.log('Example app listening on port 3000!');
});
You can now run this app by executing the following command in your console:
$ node .
You should expect to see the following output in your console:
`Example app listening on port 3000!`
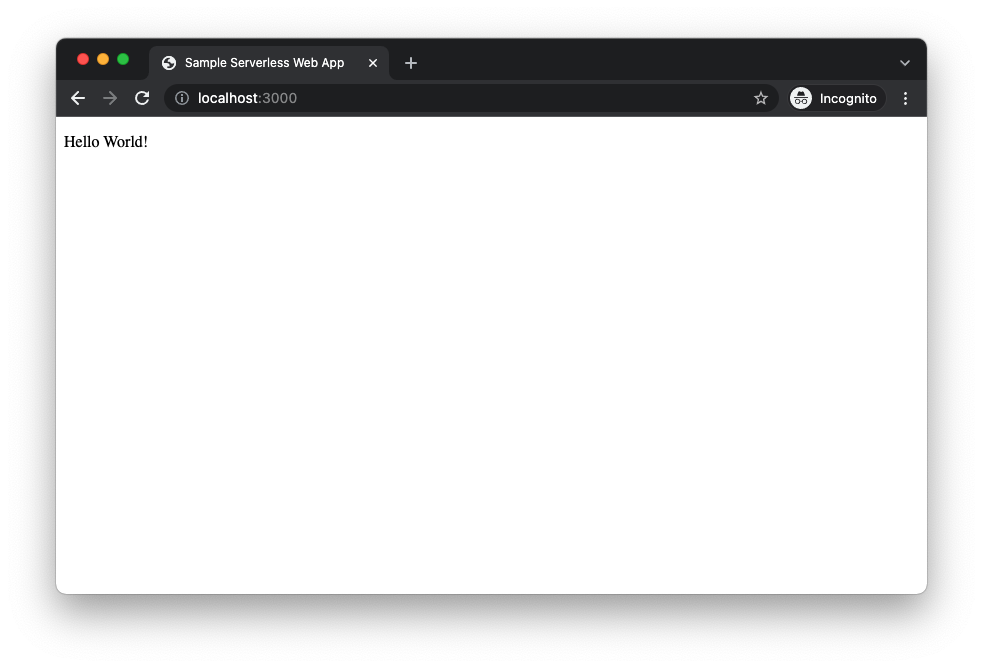
And then browsing to http://localhost:3000 on your browser will reveal:
Congratulations, you’re now running a simple web application in node.js!
Adding a View layer to your application
Before we can integrate our CMS we need to be able to create user interfaces (views) in our application that are separate from our application logic.
To allow you to build views easily there are a number of templating languages that are supported by Express.js; my personal favourite is Handlebars.js.
To add handlebars support to your application, you need another dependency:
$ npm install express-handlebars --save
You then need to create a few directories that will be used by handlebars:
$ mkdir views
$ mkdir views/layouts
The layouts directory is for the main layout of the application and will include your main css, js and other front end dependencies.
All other views will exist in the views directory.
Set up your views
Create the following files that will be rendered by your application:
<!-- views/layouts/main.hbs -->
<!doctype html>
<html>
    <head>
        <title>Sample Serverless Web App</title>
    </head>
    <body>
        {{{body}}}
    </body>
</html>
We can make this layout more feature rich later on. At this point a basic HTML layout is fine.
<!-- views/index.hbs -->
<p>Hello World!</p>
We’ll connect these files up in the next step.
Configure your view engine
To configure handlebars as your view engine you’ll need to modify your index.js as follows:
//index.js
const express = require('express');
const exphbs = require('express-handlebars');

let app = express();
let hbs = exphbs.create({
   defaultLayout: 'main',
   extname: '.hbs',
   layoutsDir: `${__dirname}/views/layouts`
});

//Set the view engine
app.engine('hbs', hbs.engine);
app.set('view engine', 'hbs');

// render the main.hbs layout and the index.hbs file
app.get('/', (req, res) => {
   res.render('index');
});

app.listen(3000, () => {
   console.log('Example app listening on port 3000!');
});
Run your application again using the following command:
$ node .
And browse to http://localhost:3000 to see the result:

Hello World… with Handlebars!
Great, you’re now running your application using Handlebars.js as your view engine.
Prepare for Serverless deployment
For our serverless infrastructure we're going to use AWS Lambda and proxy the requests through AWS API Gateway.
There are lots of ways to deploy services to lambda, but for this tutorial we're going to use a package called Claudia.js.
Claudia.js automates the full deployment cycle of your code to create AWS API Gateway endpoints and associate them automatically with lambda functions. This significantly improves the ability to deploy services to lambda as Claudia takes care of the tricky parts for you.
To install Claudia.js run the following command:
$ npm install claudia -g
To set up Claudia we first need a user in AWS with appropriate permissions, and a .aws/credentials file in our home directory.
The setup instructions can be found on the claudia.js website. Once you've got your .aws/credentials file created with an appropriate client id/secret, you can continue.
Update our application to use Lambda
We need to make a few changes to our index.js file to allow lambda to handle the requests instead of the traditional listener.
First, comment out the listen functionality and add a module.exports line at the bottom:
//index.js
const express = require('express');
const exphbs = require('express-handlebars');

let app = express();
let hbs = exphbs.create({
   defaultLayout: 'main',
   extname: '.hbs',
   layoutsDir: `${__dirname}/views/layouts`
});

//Set the view engine
app.engine('hbs', hbs.engine);
app.set('view engine', 'hbs');

// render the main.hbs layout and the index.hbs file
app.get('/', (req, res) => {
   res.render('index');
});

// app.listen(3000, () => {
//    console.log('Example app listening on port 3000!');
// });

module.exports = app;
Next run the following command from the console to generate your proxy stub.
$ claudia generate-serverless-express-proxy --express-module index
You should now see a file called lambda.js in your filesystem. This file is the entrypoint for the function when running inside the lambda. You should not edit this file unless you know what you are doing.
Lastly, we need to create and deploy our function in AWS. To do this we use the following command:
$ claudia create --handler lambda.handler --deploy-proxy-api --region ap-southeast-2
packaging files    npm install -q --no-audit --production

added 71 packages in 693ms

1 package is looking for funding
validating package    npm dedupe -q --no-package-lock
saving configuration
{
  "lambda": {
    "role": "sample-website-executor",
    "name": "sample-website",
    "region": "ap-southeast-2"
  },
  "api": {
    "id": "nle518nwfa",
    "url": "https://nle518nwfa.execute-api.ap-southeast-2.amazonaws.com/latest"
  }
}
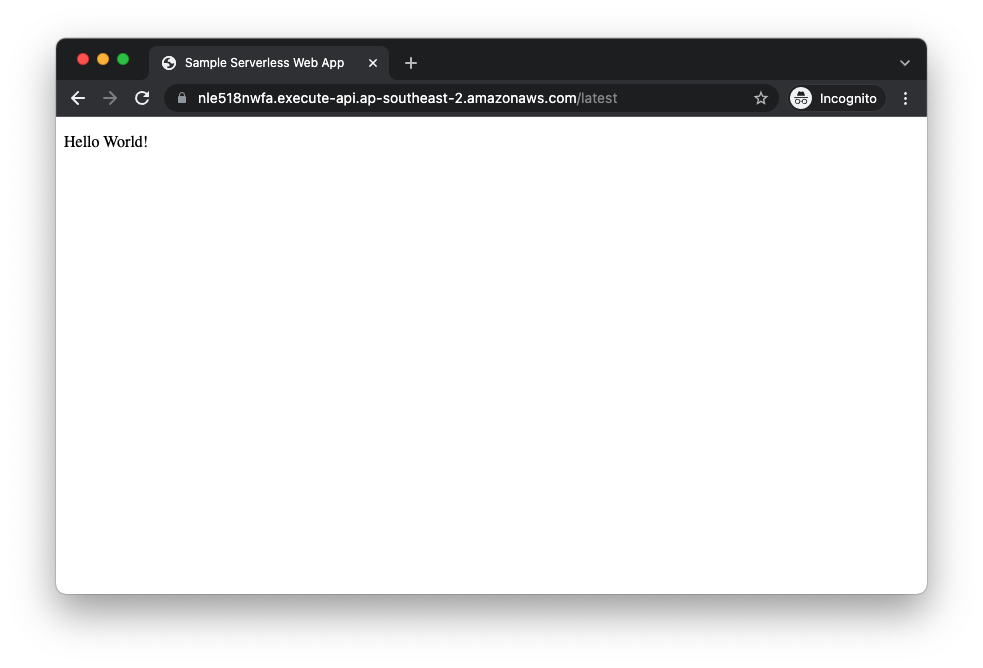
After a short time you should see a generated URL appear. Browsing to that URL will render your website:

You've now deployed your serverless website to Lambda!
Note on timeouts
Lambda functions by default have a runtime of 3 seconds. Given the way that lambda works there are times when the initial load after a deployment will exceed this. To get around it you can update the default timeout to something like 10 seconds to be more fault tolerant.

In the next post I'll show how to add the Netlify CMS to this and render your content from your serverless CMS.